


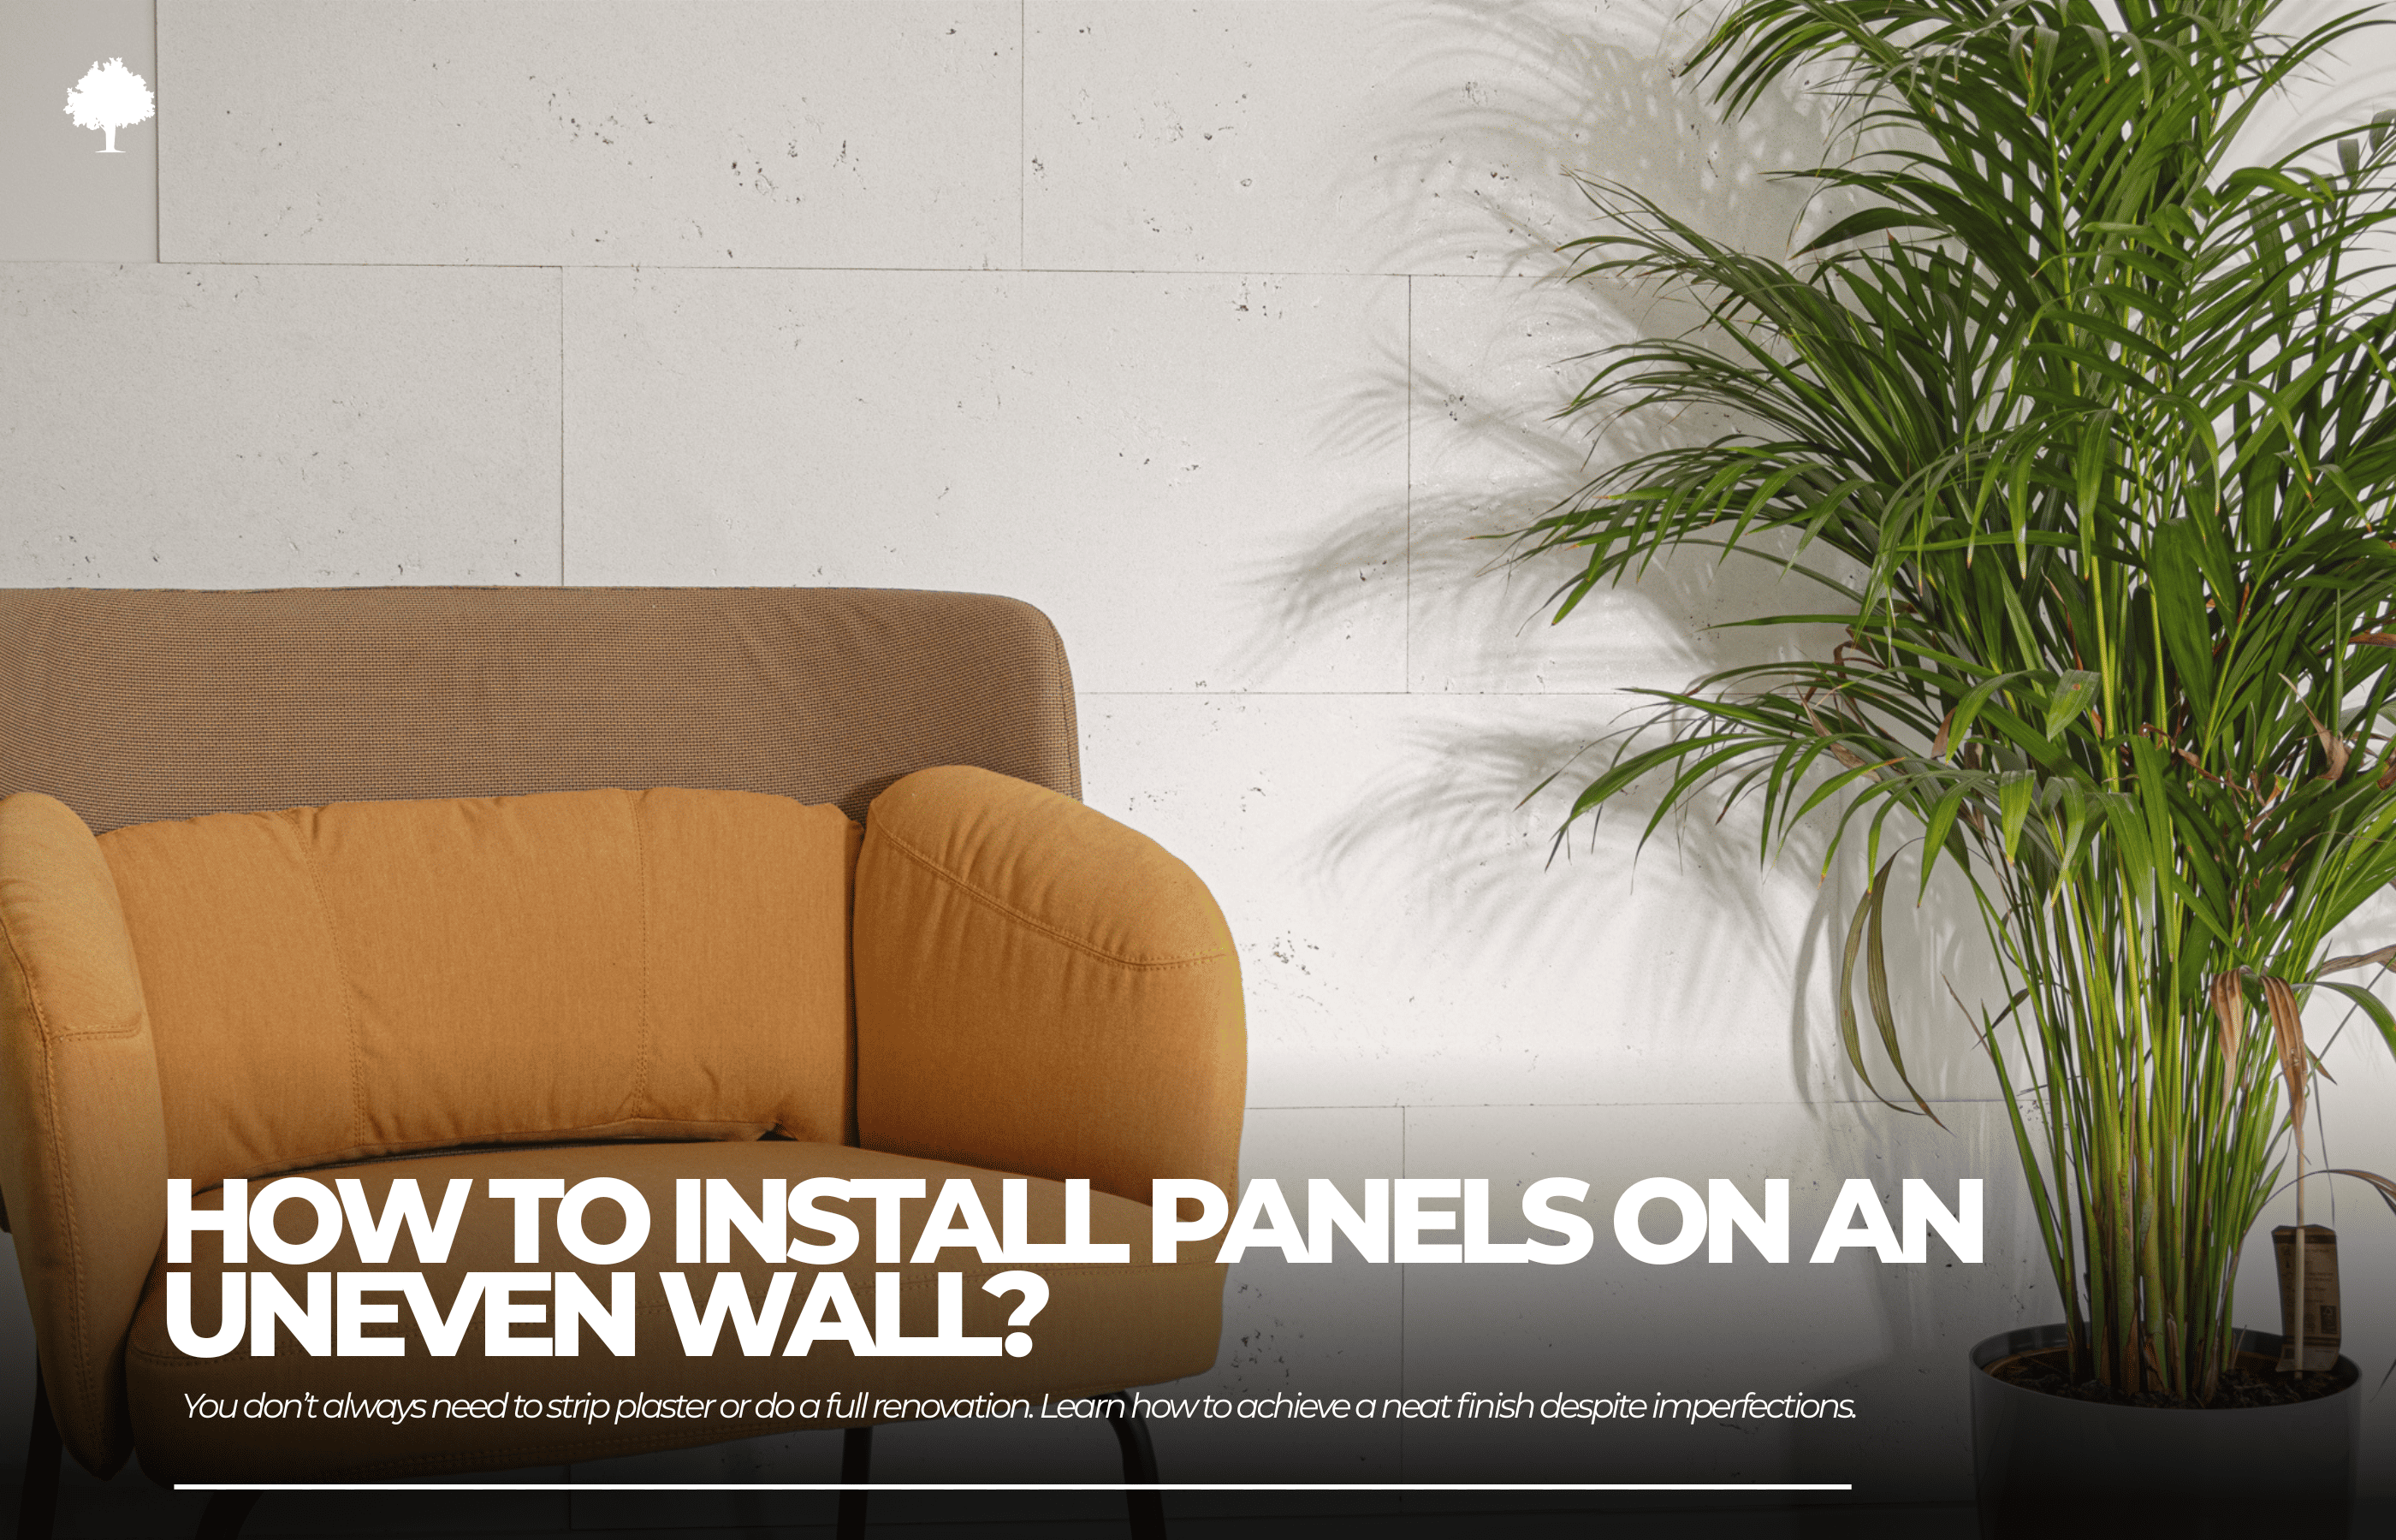
Decorative panels have been enjoying steady popularity for years — they offer a simple way to transform an interior, add character, and sometimes even create a real “wow” effect. No wonder more and more people choose them during renovation or while furnishing a home. However, the enthusiasm that comes with selecting the perfect panels often clashes with reality. It turns out that not every wall is an ideal backdrop for this type of decoration.
Curves, uneven areas, subtle waves invisible at first glance — all these factors affect installation. That’s why before you begin, it’s worth considering whether the surface you’re working with is actually suitable. Can imperfections be effectively concealed, or will they need to be levelled first?
Table of Contents
1. Introduction
2. The dream of a perfect wall vs. renovation reality
3. Can you install panels on an uneven wall?
4. How to recognise that a wall is “not suitable”?
5. How to prepare an uneven wall for panel installation?
6. Summary
7. FAQ
The dream of a perfect wall vs. renovation reality
We usually imagine it very simply: we choose striking panels, order installation or decide to glue them ourselves, and after a few hours we enjoy a spectacular effect. In theory — nothing complicated. In practice, what looks like a flawless decorative surface in the manufacturer’s photos may turn out quite different if the wall isn’t properly prepared and installation isn’t done with care.
The most common mistake is ignoring the condition of the substrate. Irregularities of just a few millimetres, remnants of old paint layers or even small cracks can completely ruin the final effect. Panels may warp, stick out, or — even worse — their edges may form unsightly gaps. In such conditions, even the most expensive and best-designed decorations won’t do their job.
Additionally, many people try to “save the situation” during installation by using excessive amounts of adhesive or pressing the panels into place with force. Unfortunately, this is a quick route to further issues: from later detachment to permanent material damage. The “it’ll do” approach almost always ends with disappointment and costly corrections.
Can you install panels on an uneven wall?
A frequently asked question: is it still possible to install decorative panels on an uneven wall? The answer is simple — it’s definitely not recommended. Problems begin already when trying to adhere the panels. Every significant irregularity is a potential spot where the panel won’t make full contact with the surface. The result is bulging, lifted edges and unappealing gaps that spoil the intended effect.
Keep in mind that decorative panels — especially thin and lightweight ones, such as MDF, veneer, or plastic — lack the rigidity needed to “hide” imperfections. On the contrary, they highlight every flaw. Each tiny unevenness instantly transfers onto their surface. Instead of a smooth, elegant plane, you end up with a wavy composition that detracts rather than decorates.
How to recognise that a wall is “not suitable”?
Simple home tests: spirit level, long battens, mason’s line
Before installing decorative panels, it’s worth checking whether the wall is suitable in the first place. You don’t need specialist equipment — just a few simple tests will give you a clear picture.
The easiest starting point is a spirit level. A longer one (at least 100 cm) allows you to detect vertical and horizontal deviations across larger sections of the wall. An even better tool is a long, straight batten or an aluminium plastering rule. By placing it against different areas of the wall, you can quickly see where gaps appear between the batten and the surface — a clear sign of unevenness.
Another method is using a mason’s line. By stretching it between two extreme points of the wall (e.g., from ceiling to floor or corner to corner), you can easily assess whether the plane “pulls away” at any spot. Even a few-millimetre deviation, seemingly insignificant, becomes a major issue when installing panels.
Deviations that rule out direct installation
If the differences in the wall’s surface exceed 2–3 mm per metre, the wall should be levelled first. For large or rigid panels, even smaller deviations may cause trouble.
When “by eye” isn’t enough
Many people judge solely “by eye” — the wall looks fine, so everything should be OK. Unfortunately, our eyes are easily deceived, and small imperfections reveal themselves only after installation. That’s why the tests described above are always worth performing. It’s a small effort that can save you from major costs and disappointment.
How to prepare an uneven wall for panel installation?
For decorative panels to look the way you expect, the wall must be properly prepared. Depending on the degree of unevenness and the condition of the surface, there are several proven methods you can use.
Filling and smoothing — the basic approach
If the wall shows only minor deviations — up to a few millimetres — the simplest and most common solution is applying filler. Smoothing the surface with the right compound or finishing plaster helps eliminate small irregularities, cracks, or gentle waves. It’s crucial to thoroughly sand the entire area once the work is done — ideally using a sanding float with mesh and a spirit level — and make sure the wall is even and smooth.
Plasterboard — a quick fix for major deviations
If the wall has significant curves or major deviations from vertical alignment, plasterboard (drywall) is a much better option. Installing boards on a frame allows you to create a level, smooth wall without the need for extensive filling and repeated corrections. This method not only speeds up the process but also guarantees a perfectly flat surface — an ideal base for decorative panels.
Cleaning, degreasing, and other preparations
Regardless of the chosen levelling method, thorough cleaning is an essential step. All dust, dirt, and remnants of old paint, wallpaper, or adhesives must be removed. The surface should also be degreased — for example using a water-and-detergent solution — and left to dry completely. For some surfaces, applying a primer is worthwhile, as it improves the adhesive bond between the wall and the panels. Only a properly prepared surface ensures trouble-free installation and long-lasting results.
Summary
Decorative panels are a great way to quickly and effectively refresh an interior. However, installing them on an uneven wall is a risky decision that can bring more trouble than satisfaction. Bulges, gaps, and lifted edges are typical consequences of skipping proper surface preparation.
The key to success is a flat, stable, and clean surface. Before installation, take the time to thoroughly inspect the condition of the wall — and level it if necessary. Sometimes a simple filling job is enough; other times, drywall will be the only reliable choice. In every case, a well-prepared substrate guarantees not only an attractive finish but also the long-term durability of the entire arrangement.
FAQ
1. How can I check whether the wall is even enough for panel installation?
Using a spirit level, a long straight batten, or a mason’s line works best.
2. Can panels be installed on old paint or wallpaper?
This is not recommended. Paint or wallpaper may have poor adhesion to the substrate, causing the panels to fall off. Always remove old layers, clean the wall, and degrease it.
3. Can panels be installed on plasterboard?
Yes. Plasterboard is an excellent base for panels, provided it is properly prepared — clean, primed, and securely mounted.
4. What should I do if panels are already detaching from the wall?
If the panels start peeling away, the best solution is usually to remove them, correctly level the wall, and reinstall them — this is the most reliable way to prevent the problem from recurring.


