


Wall veneers are a simple way to refresh an interior—they add character, bring in color and texture, and are relatively easy to install. However, to achieve a truly aesthetic and durable result, the key step is proper preparation and precise cutting of the material.
In this article, we’ll guide you step by step on how to prepare for the task, which tools are essential, and how to deal with the most common issues when cutting wall veneers.
Table of Contents:
1. Introduction
2. How to prepare?
3. The most common types of veneers and how to cut them
4. Summary
5. FAQ
How to prepare?
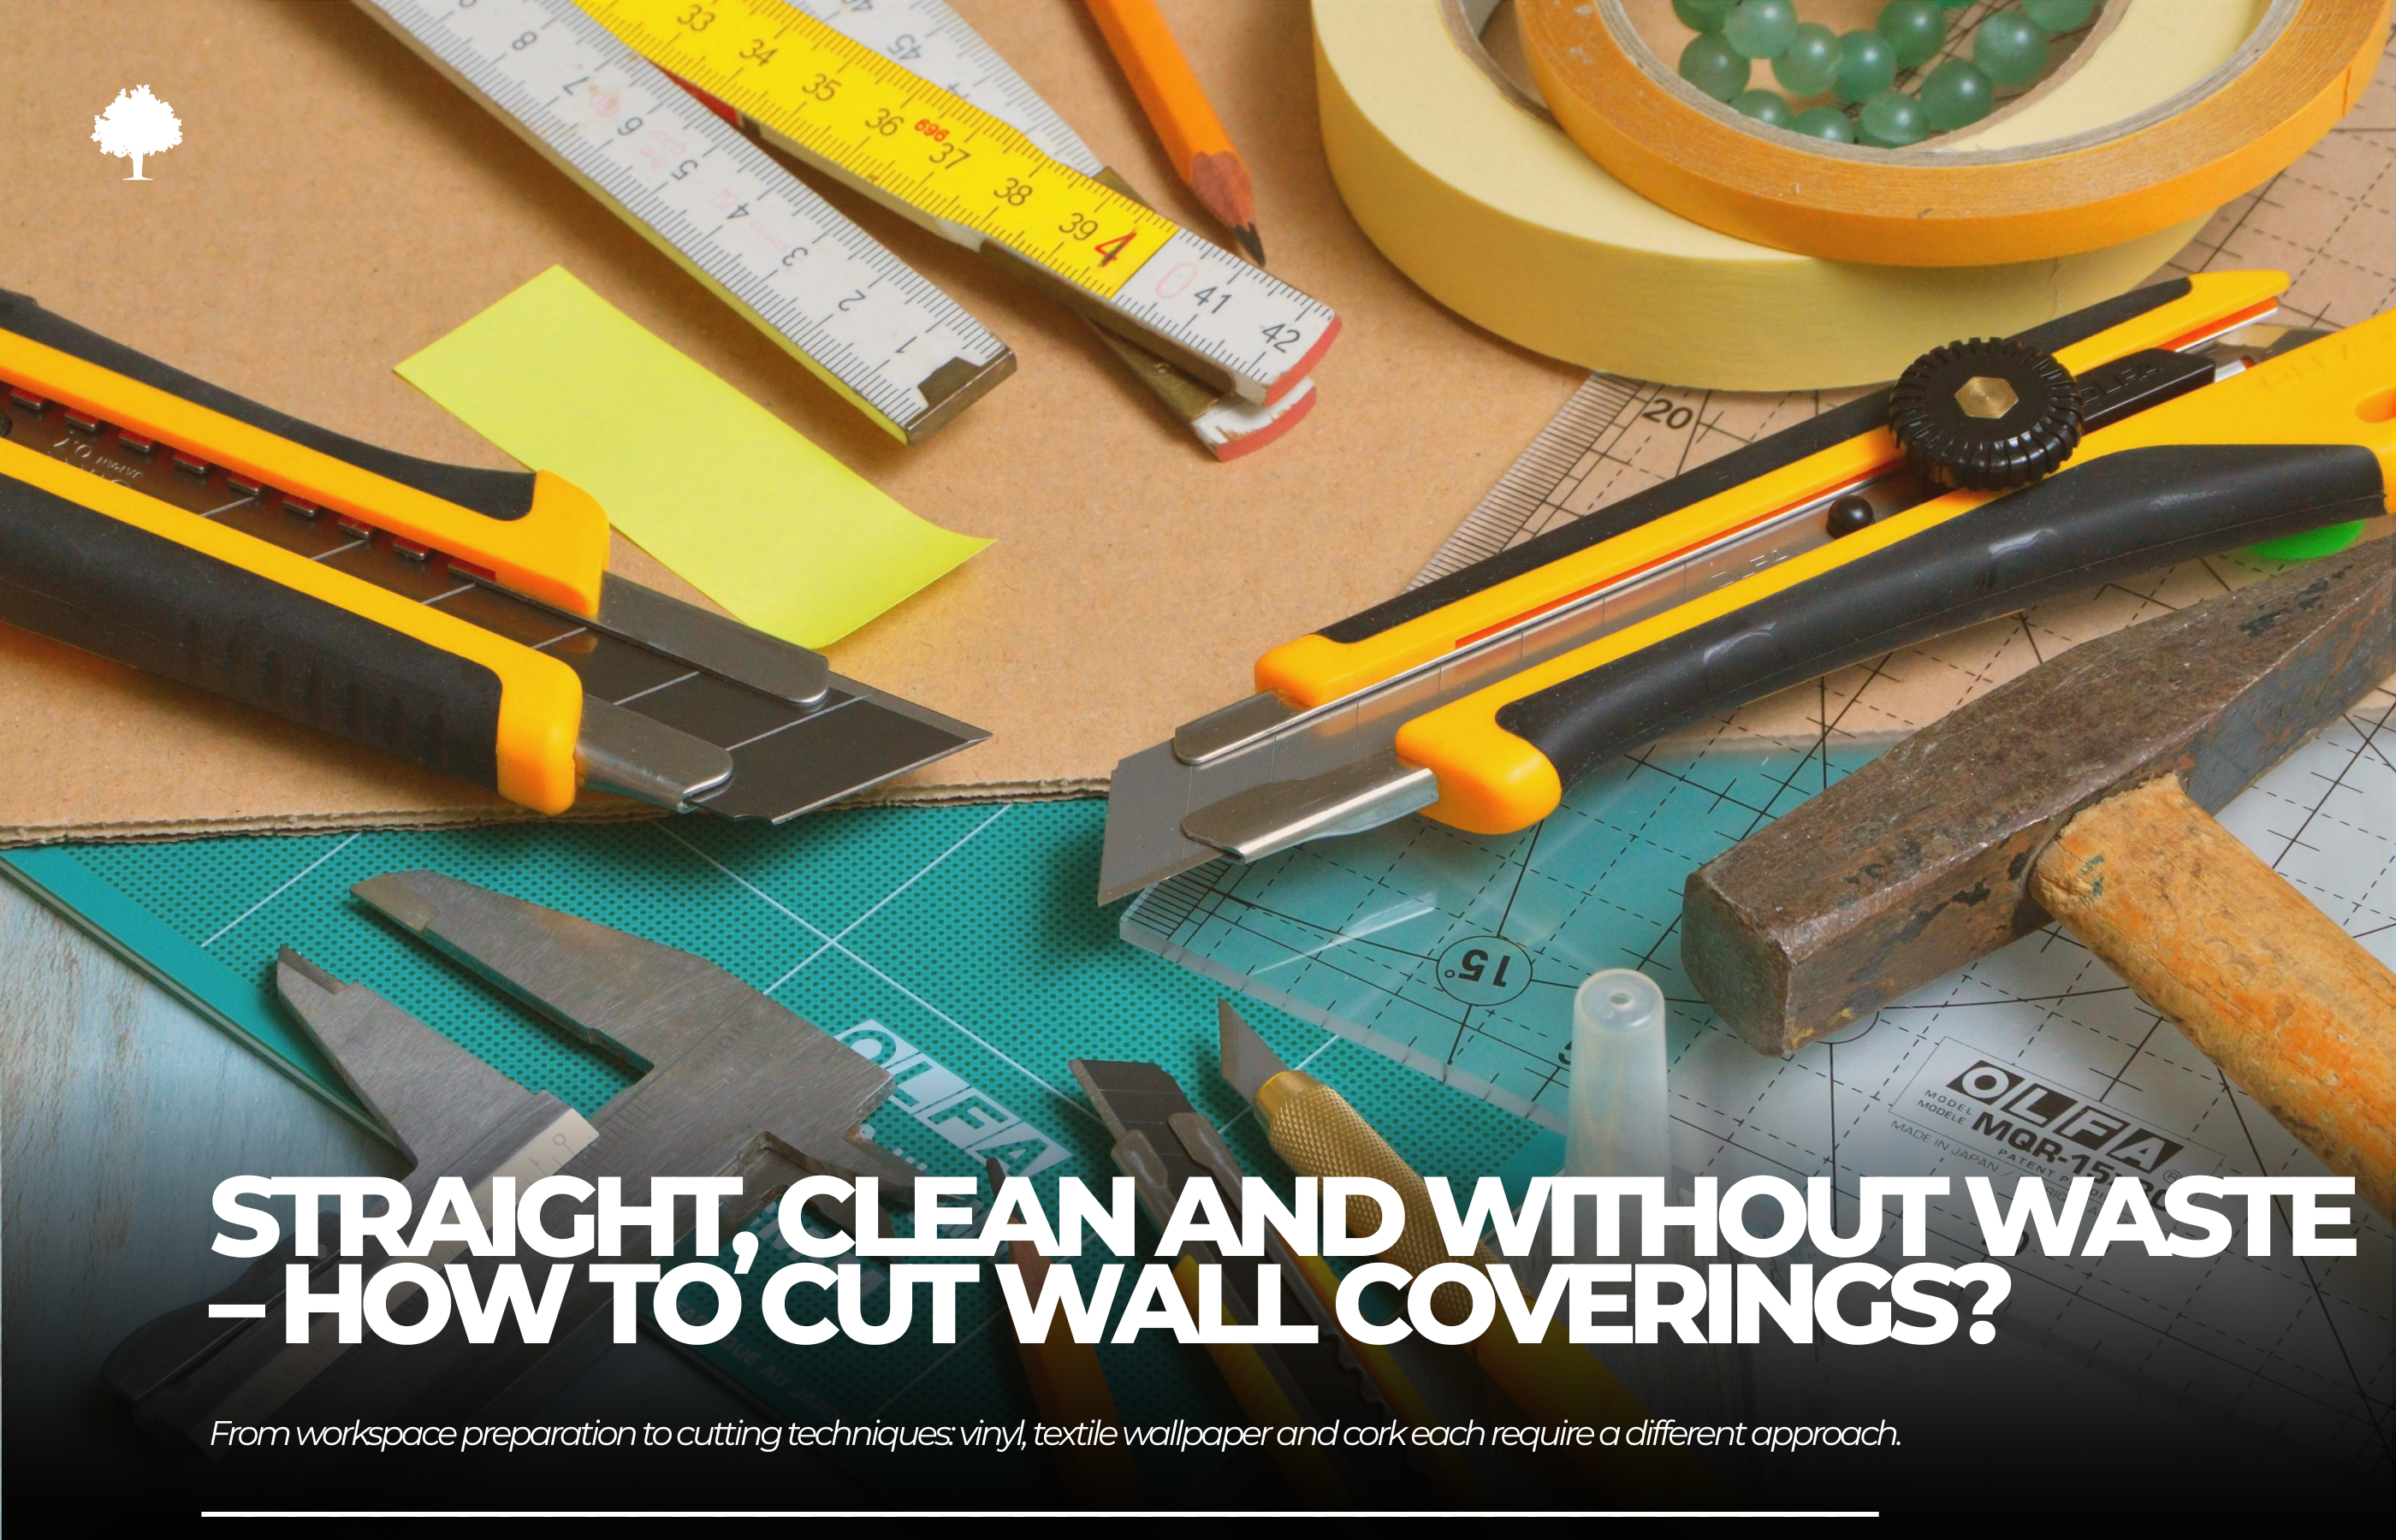
Before you start cutting wall veneers, it’s crucial to properly prepare the workspace and gather the necessary tools. This stage is often underestimated, yet it determines the precision and cleanliness of the cuts that follow. With good organization, you’ll avoid accidental damage to the material, scratches on the surface, and unnecessary stress.
What to have on hand
Utility knife — ideally new, with a sharp, replaceable blade. A dull knife can damage the veneer’s surface, causing frayed edges and uneven lines. It’s worth preparing several spare blades as well—changing them during work is a small step that greatly improves cutting quality.
Ruler or straightedge — preferably metal and long enough to guide the knife evenly across the sheet. Wooden or plastic rulers can get damaged and slip during cutting.
Cutting mat or old board — protects the surface underneath and ensures stable, accurate cuts. A mat with a measurement grid further simplifies precise marking and aligning of cut lines.
A simple plan: how to measure the material without wasting a piece
The first step is to carefully measure the wall or surface you plan to cover with veneer. It’s best to check the dimensions several times in different spots—walls are rarely perfectly straight. Write down all the measurements and transfer them onto the material, adding a few centimeters of allowance (usually 5–10 cm) to allow for adjustments during installation.
When laying out the veneer on a mat or board, always mark the cut lines with a pencil—avoid pens, which can show through thin materials. If the design requires pattern matching (such as stripes or geometric motifs), account for shifts and align the next sections carefully to avoid visual disruptions.
Finally, make sure all your tools are within reach and the workspace is well lit. Proper preparation not only enables precise cutting but also makes the work faster and more comfortable. This way, every piece of material will be used to its fullest, and the end result will be neat and visually pleasing.
Which veneers are most commonly used and how to cut them?
Choosing the right veneer is not just about aesthetics but also about practicality and ease of handling. Each type of material has its own characteristics, and knowing these differences helps you pick the proper cutting technique and avoid unpleasant surprises. Below we describe the most commonly used types of wall veneers and tips on how to handle them best.
Vinyl veneers
Vinyl veneers are popular thanks to their durability, moisture resistance, and ease of cleaning. They usually feature a smooth surface and flexible structure, which makes them relatively easy to cut—as long as you use a sharp utility knife.
When cutting vinyl, it’s important that the material is stretched flat—any creases may result in uneven lines. The best method is to cut in one firm stroke along a metal ruler. Avoid repeatedly “redrawing” the line with the knife, as this can cause frayed edges.
Textile wallpapers
Textile wallpapers bring warmth and elegance to interiors, but their structure requires more care. Unlike vinyl, they have a softer, often delicate surface that can fray or stretch during cutting.
To prevent this, it’s best to use extremely sharp blades and cut slowly, with precision. Placing a self-healing cutting mat underneath helps “hold” the fibers in place and prevents them from shifting. If the material has a distinct texture, take care not to damage the threads or weave.
Natural cork
Natural cork is an exceptional material, distinguished not only by its beautiful, organic appearance but also by its functional properties. It is lightweight, flexible, and provides excellent thermal and acoustic insulation.
Before cutting, it’s essential to properly prepare the roll of cork. Unroll the material completely on a flat, clean surface—preferably on a cutting mat or a large, smooth board. If the cork has been rolled up for a long time, it may tend to curl at the edges. In this case, it’s worth placing weights on it (such as books or boards) and leaving it for several hours, or even overnight.
Flattening the material beforehand prevents the edges from curling while cutting, which could otherwise lead to uneven lines and wasted material. Cork should lie stable and flat so that every cut is controlled and precise.
For cutting cork, it’s best to use a very sharp knife with a replaceable blade—a dull blade may tear or fray the structure. A metal ruler with a non-slip surface helps maintain a perfectly straight line. It’s recommended to cut in one steady motion with moderate pressure—pressing too hard may crush the cork and distort its structure.
A few words on patterns and thickness—what to know before cutting
Just as important as the material itself are the patterns and thickness of the veneer. Patterned veneers require precise alignment of the strips so the design flows smoothly from one section to the next. Before cutting, it’s always a good idea to lay out several strips “dry” side by side to check the alignment—this helps avoid visible mismatches and the need for later corrections.
The thickness of the material also matters. Thin veneers are more prone to warping and accidental damage. Thicker ones, on the other hand, require more pressure with the knife and often several passes to cut through completely. It’s important not to move the ruler during repeated cuts, as this could result in jagged edges.
Summary
Precise cutting of wall veneers is one of the most important steps, largely determining the final look and durability of the finish. Whether you’re working with modern vinyl veneer, elegant textile wallpaper, or natural cork—each material requires a tailored approach, the right tools, and careful, steady work.
The key to success lies in thorough preparation: from properly laying out and measuring the material, through choosing sharp knives and solid rulers, to creating a comfortable, well-lit workspace. This minimizes mistakes, reduces material waste, and helps avoid common problems such as peeling or uneven edges.


