


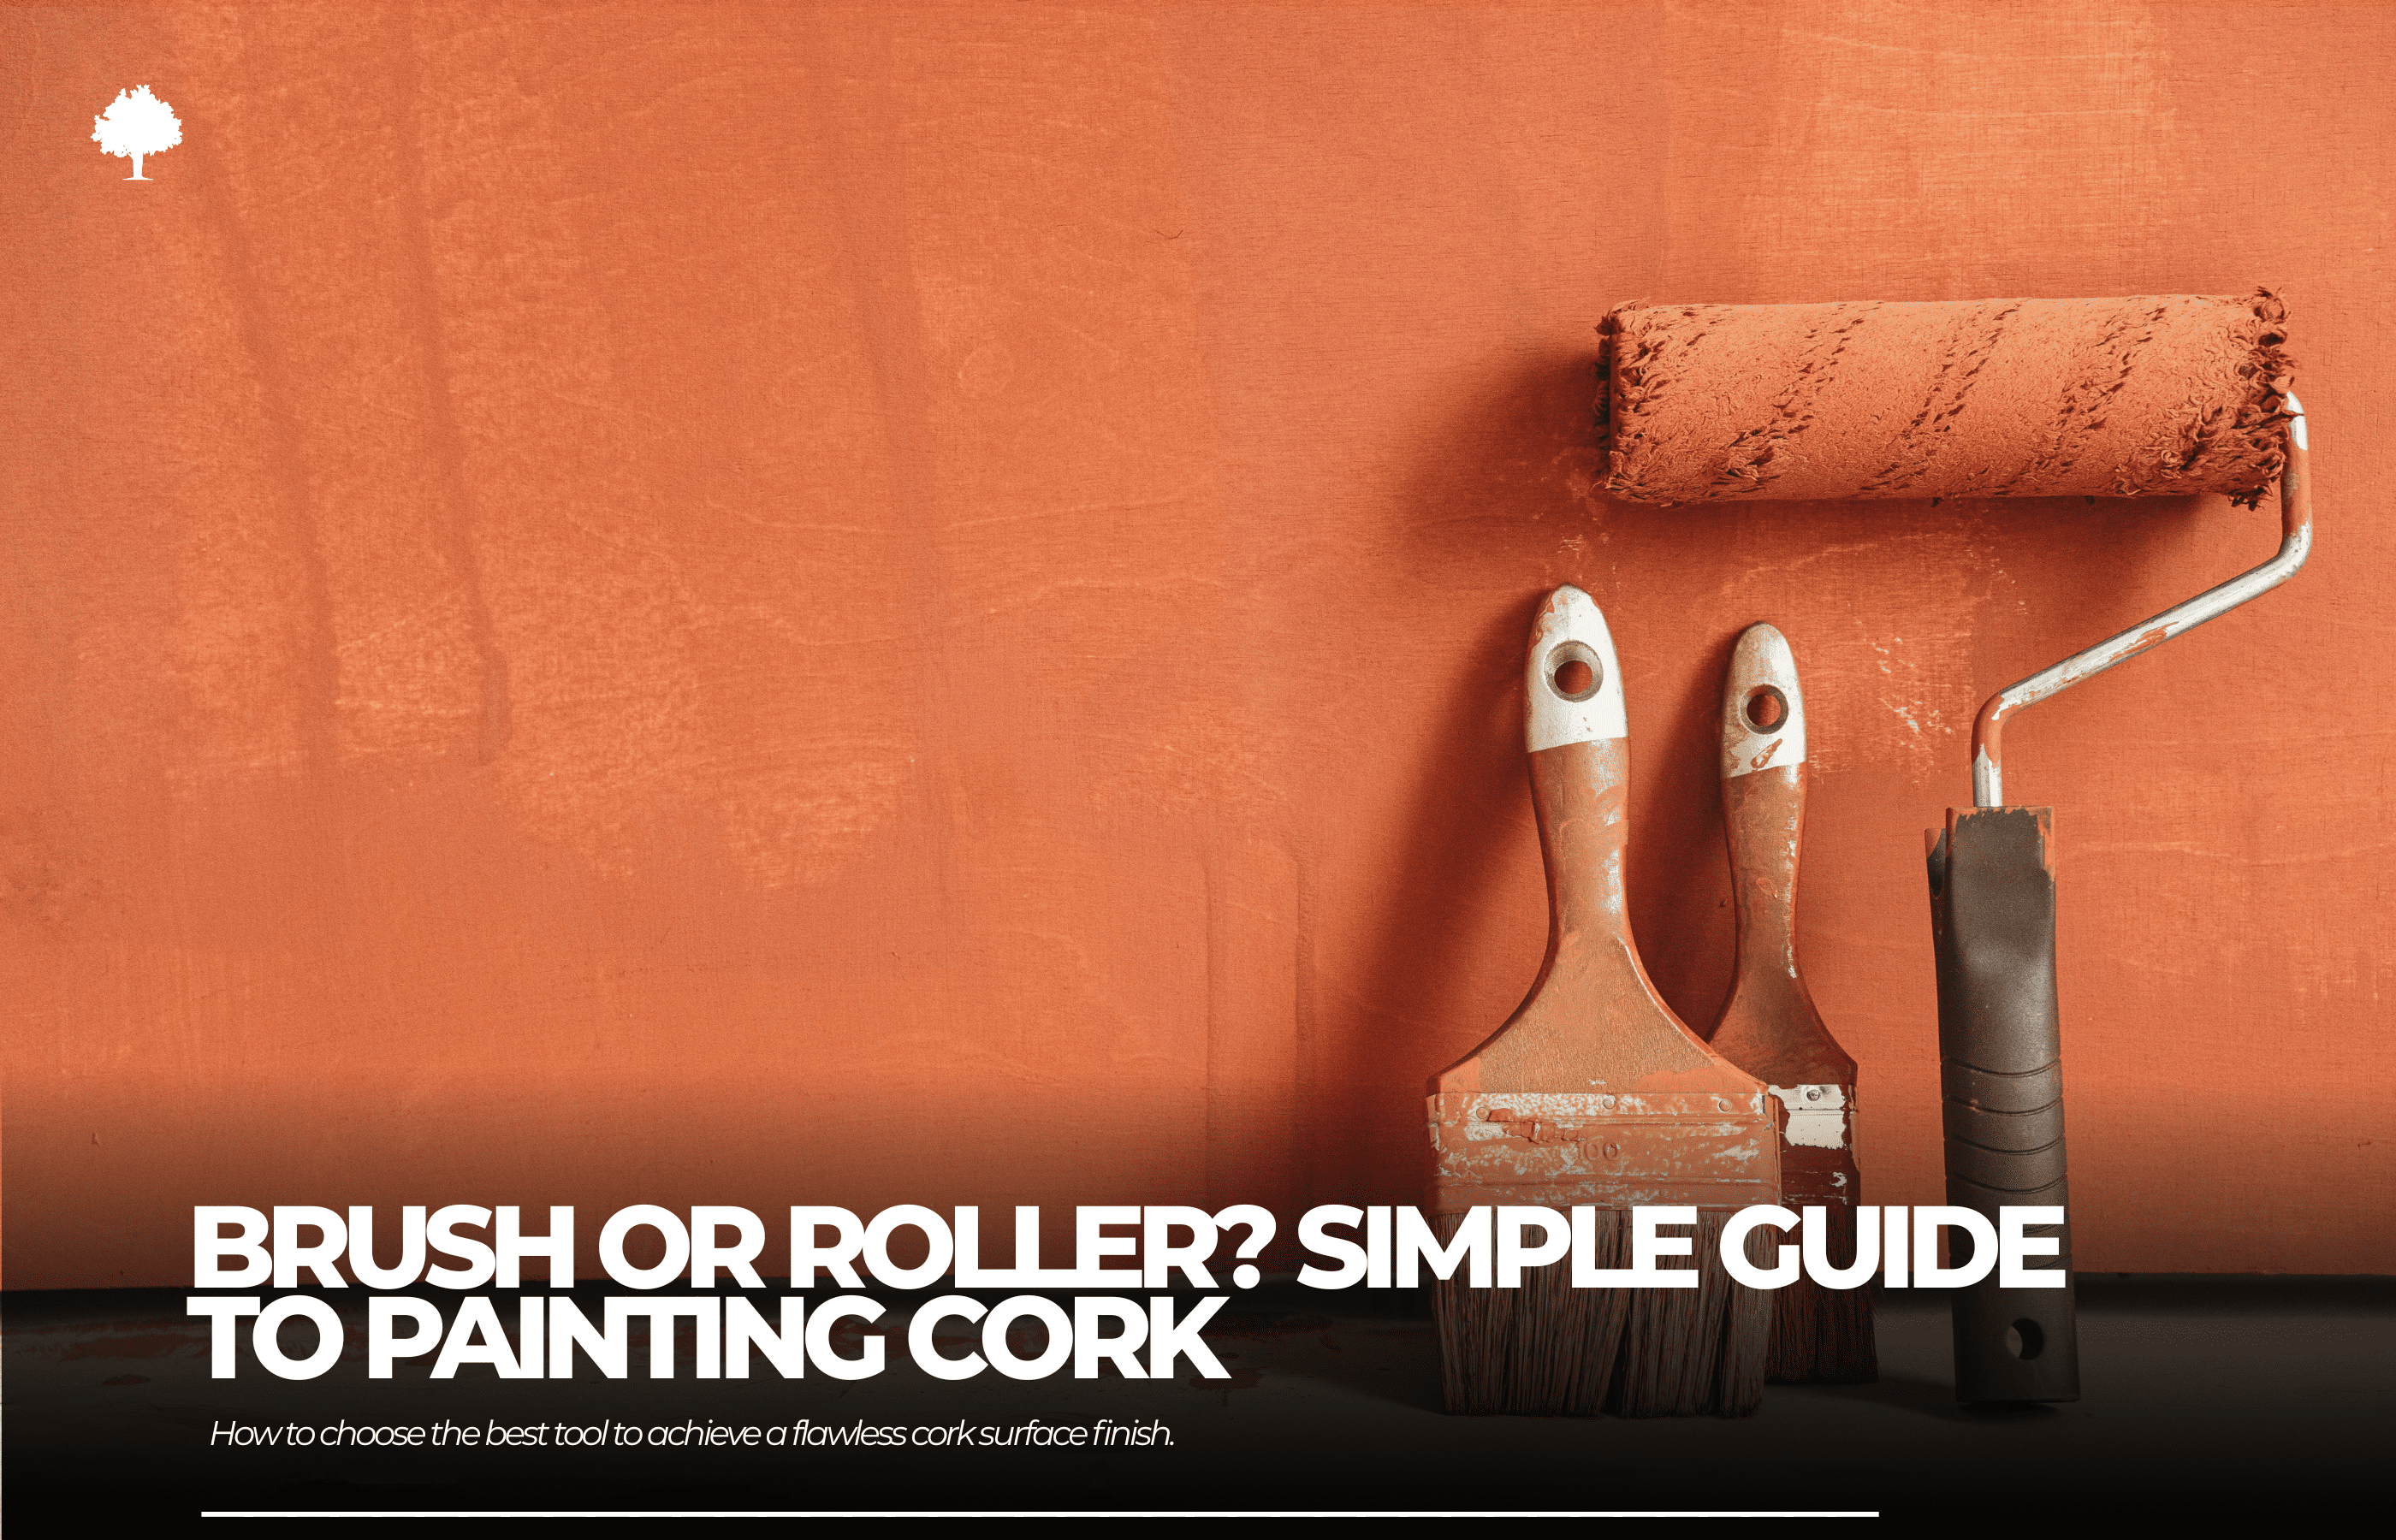
Natural cork is a material that is increasingly making its way into our interiors — not only for flooring but also for walls, furniture, and various decorative pieces. It is warm, natural, and pleasant to the touch, but when it comes to painting it, one important question arises: brush or roller?
While both tools have their advantages, with natural cork the choice isn’t always straightforward. Differences in texture, porosity, and surface shape can significantly affect the painting results. In this guide, we’ll go step by step through the key differences between a brush and a roller — so you’ll know when to choose each tool and what results to expect.
Table of Contents
1. Introduction
2. Why it’s worth knowing how to paint natural cork
3. What makes natural cork unique
4. Painting with a brush
5. Painting with a roller
6. Time and efficiency: Who wins the race?
7. Durability and finish quality — does the tool matter?
8. Summary
9. FAQ
Why it’s worth knowing how to paint natural cork
The importance of the right painting tool
At first glance, painting natural cork doesn’t seem complicated. But anyone who has tried it knows this material has its own set of rules. It’s slightly rough, porous, and often has an irregular surface — which means that the way paint is applied makes a huge difference.
Choosing between a brush and a roller shouldn’t be random. It’s a bit like picking the right garden tool — you can manage with one, but with the right one, the job will be faster, easier, and the results better.
By matching the tool to the type of surface, you’ll save paint, time, and frustration. Most importantly, you’ll get a longer-lasting, more attractive finish without the need for touch-ups. That’s why it’s worth taking the time to find out which option works best for your project.
What makes natural cork unique?
Natural cork is truly one of a kind. It comes from the bark of the cork oak tree, is completely natural, and offers many benefits — it’s lightweight, flexible, pleasant to touch, and an excellent sound and heat insulator. All of this makes it a popular choice for interiors — both for decorative and functional purposes.
However, this uniqueness also means that natural cork doesn’t behave like a typical smooth wall. Its texture plays a big role when painting.
How porosity and texture affect paint absorption
Natural cork is porous — it contains tiny indentations and micro-gaps that, while adding character, also absorb more paint.
If you use the wrong tool, the paint may not reach every crevice or may spread unevenly. The result could be an inconsistent coat with patches, visible gaps, or rough areas.
The challenges and advantages of painting it
The biggest challenge is managing paint absorption and ensuring an even application. The wrong tool can leave areas uncovered or cause you to use far more paint than expected.
Painting with a brush: Precision, texture, and artistic depth
How a brush “reads” the texture of cork
A brush works well with the uneven surface of natural cork. Thanks to its flexible bristles, it can adapt to the material’s shape and reach areas that a roller might miss — such as indentations, pores, and small irregularities. In a way, it “reads” the texture of cork, highlighting its natural pattern.
This gives you greater control over paint distribution — important if you want to preserve the original character of the material and avoid hiding its texture under a thick coat.
Visible brush strokes — flaw or feature?
One characteristic of painting with a brush is visible brush strokes. For some, this is a downside — especially if they want a perfectly smooth surface. But with natural cork, it can actually be an advantage. These strokes can add depth, emphasize its organic quality, and make the overall look feel more “natural.”
It all depends on the effect you’re aiming for. If you want a rustic, warm atmosphere, a brush can be an excellent choice.
When to use a brush
A brush is a great option when:
-
you are painting small surfaces — for example, a natural cork board, a frame, or a wall panel in a small recess,
-
you want to highlight the texture of the natural cork rather than hide it,
-
you are working with irregular, uneven natural cork that is difficult to fully cover with a roller,
-
you need precision, for example, around corners, edges, or decorative details.
Painting with a roller: Smoothness and application speed
How a roller applies paint to natural cork
Painting with a roller offers a quick and even result. The roller spreads the paint in wide strokes with minimal effort, allowing you to cover larger areas in less time. With the right paint and proper pressure, you can achieve a fairly smooth layer that slightly evens out the texture of the natural cork — without completely covering it.
Issues may arise when the cork has a very uneven surface — in such cases, the roller might not reach into the deeper grooves. This may require pressing harder or doing additional touch-ups.
Types of rollers and the finish they create
Not all rollers produce the same effect. For natural cork, the best choice is rollers with medium or short nap:
-
Short-nap rollers (e.g., flock) – create a smooth, thin layer but may struggle to cover deeper textures.
-
Medium-nap rollers (e.g., polyacrylic) – adapt better to the cork surface and more easily cover its natural texture.
-
Long-nap rollers – generally not recommended for cork; they may splatter paint and create a coating that is too thick.
It’s also worth considering the width of the roller — a smaller one (10–15 cm) works well in tight spaces, while a larger one (18–25 cm) makes covering big surfaces easier.
When a roller is the right choice
A roller is the best option when:
-
you are painting large, flat cork surfaces, such as an entire wall or a bigger panel,
-
you want speed and an even coat,
-
you aim to slightly smooth out the texture of the cork without fully concealing it,
-
you don’t require high precision — for example, along edges, in corners, or on intricate details.
Time and efficiency: Who wins the race over square metres?
Comparing painting speed
If time is of the essence, a roller is unmatched. Thanks to its wide working surface and even paint distribution, you can quickly cover large areas of cork. This is especially important when painting a wall or other sizable elements — in such cases, a brush soon becomes too slow and tiring.
A brush, on the other hand, offers greater control but requires patience and precision. On small surfaces, its slower pace isn’t a major drawback, but over larger areas it can turn into hours of work.
In summary:
-
Roller = speed, convenience for large surfaces
-
Brush = precision, but slower pace
Paint consumption: which uses more?
This is not entirely straightforward. While a brush allows you to apply paint precisely where needed, it often requires several coats to fully cover the surface and reach every indentation. This can lead to higher paint usage.
A roller spreads paint more evenly and in a thinner layer, but some paint gets “absorbed” into the texture of the natural cork, requiring multiple passes to achieve good coverage. Additionally, there may be splatter and waste during application.
In practice:
-
If you paint carefully with a brush, it will take more time but use less paint (provided the natural cork is not highly absorbent).
-
If you paint quickly with a roller, the process is faster, but you may need an extra coat — which can increase paint consumption.
Durability and finish quality — does the tool matter?
How deeply does the paint penetrate natural cork?
Natural cork is a porous material, so paint can penetrate fairly deeply, but only if it is applied thoroughly. This is where the choice of tool makes a difference.
-
Brush — thanks to its flexible bristles, it is easier to “work” the paint into the texture of natural cork. This means the pigment penetrates deeper, especially into gaps and recesses. As a result, the coating can be more durable and resistant to minor damage.
-
Roller — works faster, but the paint mostly sits on the surface of the natural cork. If the material is very absorbent, the roller may leave too thin a layer, which later requires additional coats.
Resistance to abrasion, peeling, and discolouration
Properly applied paint (regardless of the tool) should last for a long time. However, if the application is uneven, too thin, or the paint doesn’t reach all areas — the risk of issues increases:
-
An overly thick brush layer can start to peel or crack if you work too slowly and the paint begins to dry during application.
-
A layer that’s too thin from a roller may wear out faster, especially on surfaces in frequent use, such as walls that are often touched.
-
Lack of proper priming is a common mistake that can lead to discolouration, regardless of the tool used.
Conclusion? It’s not only about what you paint with, but also how you do it. Proper surface preparation and even application are essential.
Mistakes more likely with a brush or roller
Each tool has its own “traps”:
-
Brush:
-
leaves streaks if the paint dries too quickly,
-
pressing too hard can leave unsightly marks,
-
easy to apply too much paint in one spot.
-
-
Roller:
-
may not cover all indentations,
-
can splatter if used too quickly,
-
may leave unevenness if it’s too dry or not properly loaded with paint.
-
Summary
Brush or roller? There’s no single answer — it depends on what you’re painting, the surface, and the effect you want to achieve.
-
Brush offers precision, allows you to get into the natural cork’s texture, and highlight its features. Ideal for smaller areas and where accuracy matters.
-
Roller means speed and convenience. Perfect for large, flat surfaces where an even, smooth paint finish is needed with minimal effort.
Both tools have their strengths and limits. If time is of the essence — choose a roller. If you want to bring out the depth of natural cork — go with a brush. Sometimes, the best option is a combination: use a roller for main areas, and a brush for details and edges.
The key? Don’t pick your tool at random. A well-chosen technique will ensure natural cork looks beautiful and the result lasts for years.
FAQ — common questions about painting natural cork
1. Should natural cork be primed before painting?
Yes, it’s definitely worth it. Primer improves paint adhesion and reduces absorption. This means you’ll use less paint and achieve a longer-lasting finish.
2. Can you use both a brush and a roller?
Yes — it’s a great idea. Use a roller to quickly cover larger areas, and a brush for edges, corners, and hard-to-reach spots.
3. How many coats of paint do I need?
Usually, two coats are enough, but it depends on the cork’s absorbency and the type of paint. After the first coat, assess the coverage and decide if a second is necessary.
4. Does paint from a roller and a brush look different on cork?
Yes, it can. A brush often leaves subtle marks and emphasises the material’s texture, while a roller creates a smoother, more uniform finish.


